Printing queue
Welcome to Karmen’s Printing Queue feature! This convenient tool allows you to effortlessly organize G-codes for your 3D printer. If you’ve got a Jobox printing plates exchange system hooked up, the entire process becomes a breeze.
Currently, Jobox supports PRUSA 3D printers. Check out our quick video to see the seamless connection in action: link to video.
Enabling the Printing Queue
- Navigate to the “Settings” tab in your working group.
- Enable the printing queue, as illustrated in the image below.
- Once activated, a new “Queue” tab will appear in the main application menu.

Adding Files to the Printing Queue
With the printing queue enabled, adding G-codes is a piece of cake.
- Locate the G-code in Karmen.
- Click on its details or use the ⫶ button.
- Select “Add to Queue”.
Automatic Printing Queue
For those with a Jobox plate-exchange system:
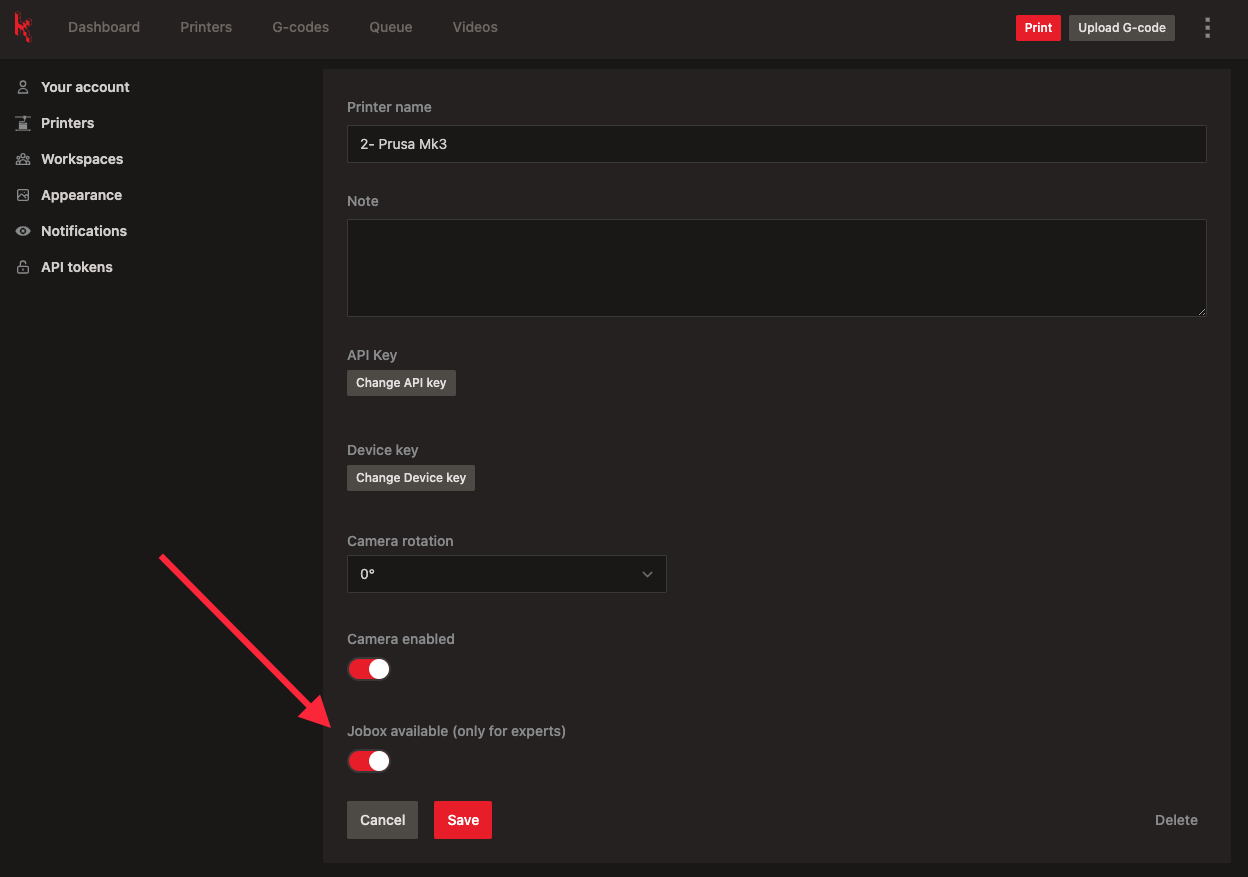
- In Karmen’s Settings, under the Printers tab, enable “Jobox available” for your 3D printer.
2. Now, when working with G-codes in the printing queue, you can to start the print job automatically.
Wrap Up and Get Started!
And that’s it! You’re all set up to make your 3D printing experience even smoother. If you have any questions or want to share your experience, head over to our forum – we’d love to hear from you!